The 3D printer consist of main controller board as Ardunio
Mega 2560 where the marlin firmware is
loaded .The ardunio Ramps shield act as a driver circuit for the whole 3D
printer. When the G-Code is given to the Arduino mega 2560 it delivers the
signals to the port pins which is connected to Ramps shield then it drives the
whole circuit by sending signals to them. While transmitting G-Code through
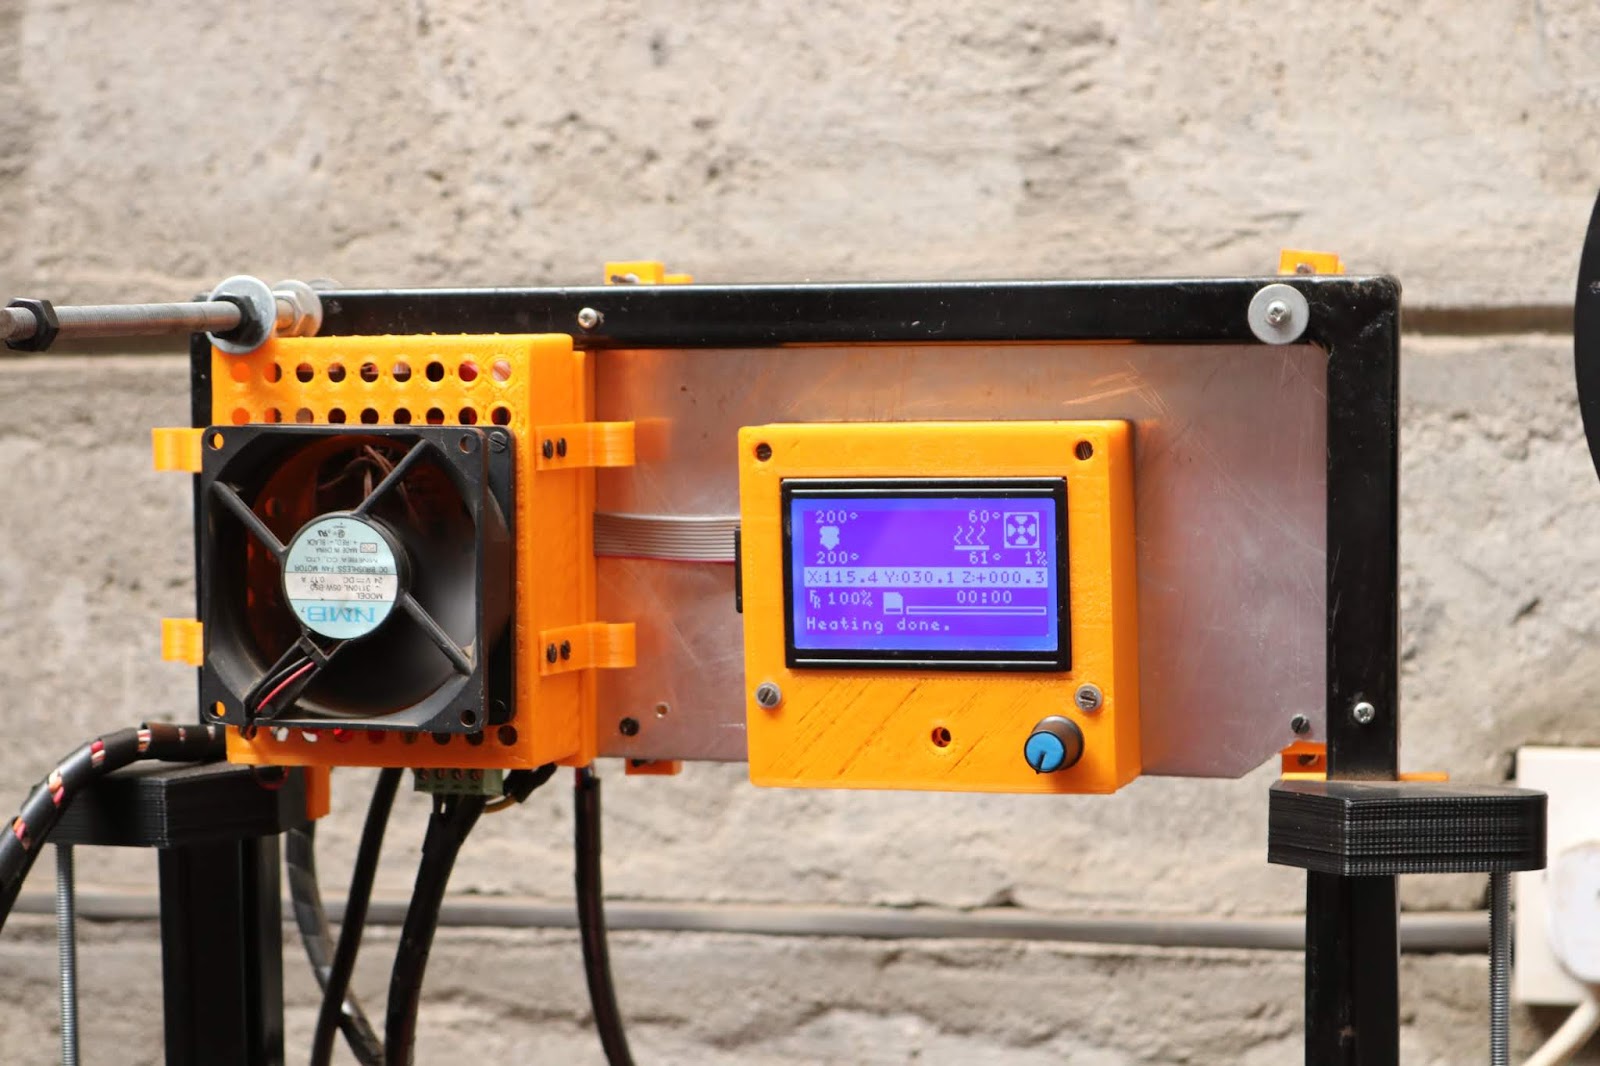
software the Ramps shield controls stepper motors,LCD(20x4),extruder with the
given co ordinates it mainly works on the principle of control flow algorithm
which is pre-ly installed in marlin firmware. The whole firmware is edited and
uploaded using Arduino IDE. The type of technology used is
- FDM(Fused Deposition Method )
BLOCK DIAGRAM:

MODELLING:

SINGLE LINEAR RAIL MODEL:

STEPPER
MOTOR ASSEMBLY:

CIRCUIT DIAGRAM:

This project is
designed with following components: (With Link below)
Software available for 3D
Printer control:
Steps to update firmware to 3D printer:
1. Connect your 3D
printer to the computer then open the XL loader software which is given in the
link below
2. Then select the firmware
to be uploaded to the 3D printer (Arduino) firmware link is given below
3. Click upload to
upload the sketch to the 3D Printer
4. After that open
Pronterface Software Connect the COM Port shown as Arduino
5. That’s all Now you can
connect the 3D printer to the software then upload the file to print.
After all your assembly upload the firmware to arduino mega you can download using below link
Download
Using XL Loader software you can upload sketch to the 3d printer using below link download it
Using XL Loader software you can upload sketch to the 3d printer using below link download it
Comments
Post a Comment